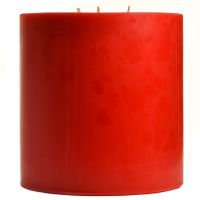
Burning 3 Wick Pillar Candles
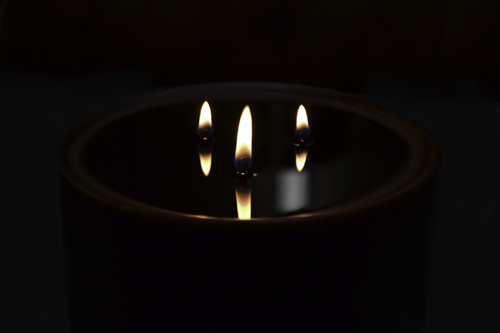
Three wick pillar candles are very popular to use as centerpieces in your home or for events. One of the reasons is, that at 6 inches in diameter, their size alone makes an impressive display without much additional work needed. Simply adding a floral candle ring or surrounding it with other decorative accents is enough. However, with such a large candle comes the potential for a large mess if proper care is not taken to avoid it. Here are helpful instructions to make your large 3 wick candles burn great and keep the liquid wax where it is supposed to be… inside the pillar.
First and foremost (and this goes with any candle) don’t place it directly on any surface that could be damaged by heat or wax. Put your 3 wick pillar candles in or on a large enough holder to catch any melted wax that could spill over the edge. If the liquid wax pool gets too close to the edge, it may melt through the side wall and run out of the candle. If not caught in time, liquid wax running down the side could melt a V-shape at the top of the candle and continue to melt a vertical line down the side. This will make the candle appear to be cracked. As the liquid wax continues to drain out, the 3 flames will get bigger and continue to melt more wax which will also run out the side of the pillar candle, making a mess on the table or floor. This situation is very easy to avoid, continue reading…
Follow These Tips to Keep Wax In The Candle
- Never leave a burning candle unattended. I’ll say it again NEVER LEAVE A BURNING CANDLE UNATTENDED. This is by far the most important safety tip when using any candles.
- Make sure the candle holder is large enough to catch any liquid wax that may drip or run over.
- Trim the wicks to the correct height each time before lighting the candle. If you notice the flames getting too big after the candle has been burning a long time, put the candle out, trim the wicks and relight it. Large flames produce more heat creating a larger liquid pool which could result in it running over the side. (To small of a flame won’t melt enough wax and cause tunneling so trim the wick to the length based on what you need).
The Stages of the Wax Pool Look Like This
- Three round liquid pools, 1 around each wick,
- The three pools join together to look like a clover leaf.
- One large round pool melts out close to the edge of the pillar.
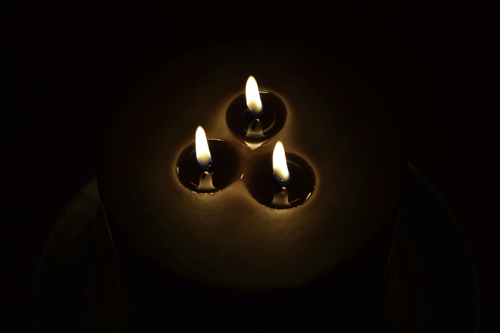

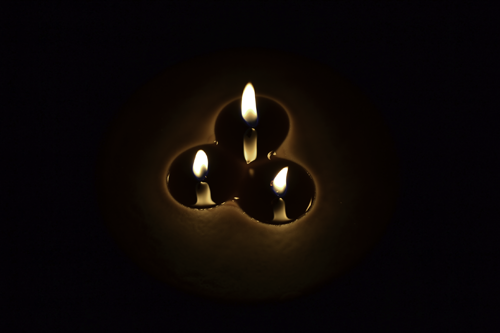


When the wax pool reaches the second 2 stages, be careful that any continuous drafts or a leaning candle are not causing the liquid wax to get too close to the edge of the candle. If this is happening either extinguish the flames or, turn the candle around to even it out. If the wax is still getting too close to the edge, extinguish all 3 flames, let the candle cool, and relight it at a later time.
Tips About the Wicks
The wicks are designed to be self-trimming, however, if the flames are dancing up and down and producing dark soot, the wick is too long. Put the candle out and trim the wick. You may also notice a little ball of carbon forming on the ends of the wicks. This is often referred to as a “mushroom” because of its shape. This ball interferes with the flame’s size and therefore hinders the melting of the wax. Simply trim the ball off the wick and relight it. When the pillar is extinguished the black part of the wick is fragile. That part can easily be broken off when cleaning or moving the candle making the wick too short and affecting the burning of the candle. If the wick is too short the liquid wax pool may drown out the flame. If this happens you will need to carefully pour off the liquid wax or absorb it using a cue-tip, after you extinguish the flame. You may need to do this more than once until you get the proper size flame. Do not leave any parts of trimmed wicks or matches left lying in the candle, they could ignite causing the candle to not burn correctly.


